Most crawl spaces only get attention after something has already gone wrong. A musty smell drifts into the hallway, a spot in the kitchen floor starts to give, or the water bill jumps for no clear reason. By then the problem under the house has often been building for a while. Crawl space maintenance means checking the space under your home on a schedule for water, humidity, liner damage, pests, and failing supports. A few short checks a year with a bright flashlight can catch those problems while they are still small.
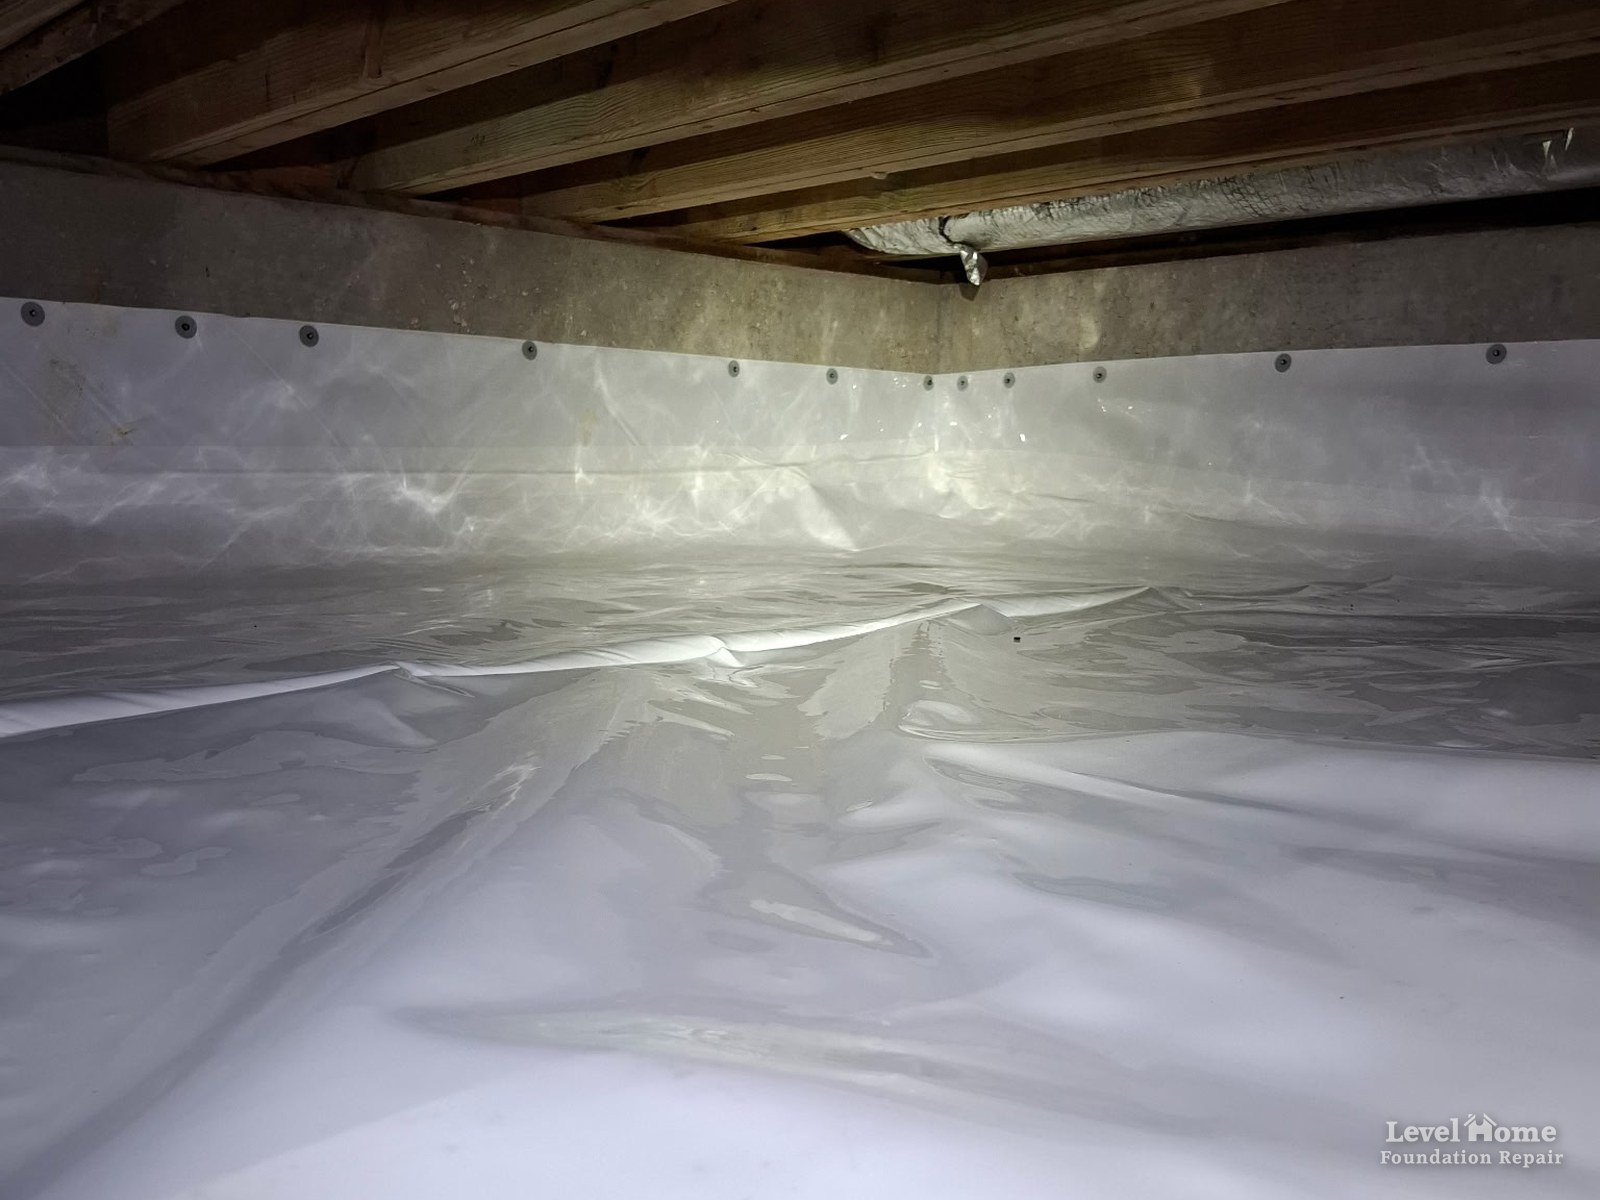
The photos in this article show a white liner installed across the ground and up the foundation walls under a home. A clean, lined crawl space is the easiest kind to keep an eye on, because anything new stands out against the white. Our team at Level Home Foundation Repair inspects and repairs crawl spaces and pier and beam homes across Tulsa and northeast Oklahoma. This checklist covers what to look at, how often to look, which findings are normal, and which ones mean it is time for crawl space foundation repair.
What the Photos Show
A liner fastened to the foundation wall
The photo at the top of this article looks across the ground toward a corner where two foundation walls meet. The liner covers the ground and runs up both walls. Near its top edge, a row of round fasteners holds it to the concrete, and above the fasteners a band of bare wall stays visible below the wood floor framing. A raised edge runs across the ground where one sheet of liner appears to overlap the next.
The liner runs up the wall for a reason. For sealed crawl spaces, Section R408.3 of the International Residential Code calls for exposed earth to be covered with a continuous Class I vapor retarder, with joints overlapped 6 inches and sealed or taped, and with the edges carried at least 6 inches up the stem wall and attached and sealed to it. Those seams and edges are the first things to check on every visit. A seam that opens or an edge that pulls away from the wall gives moisture from the soil a path back into the crawl space air.
The strip of bare concrete above the liner is worth a look, too. It is the easiest place to spot termite mud tubes, which Oklahoma State University Extension describes as tubes 1/4 to 1/2 inch wide built over the surface of foundation walls. Keep that strip clear so you can see it.
Plumbing, ductwork, and a beam on wood posts
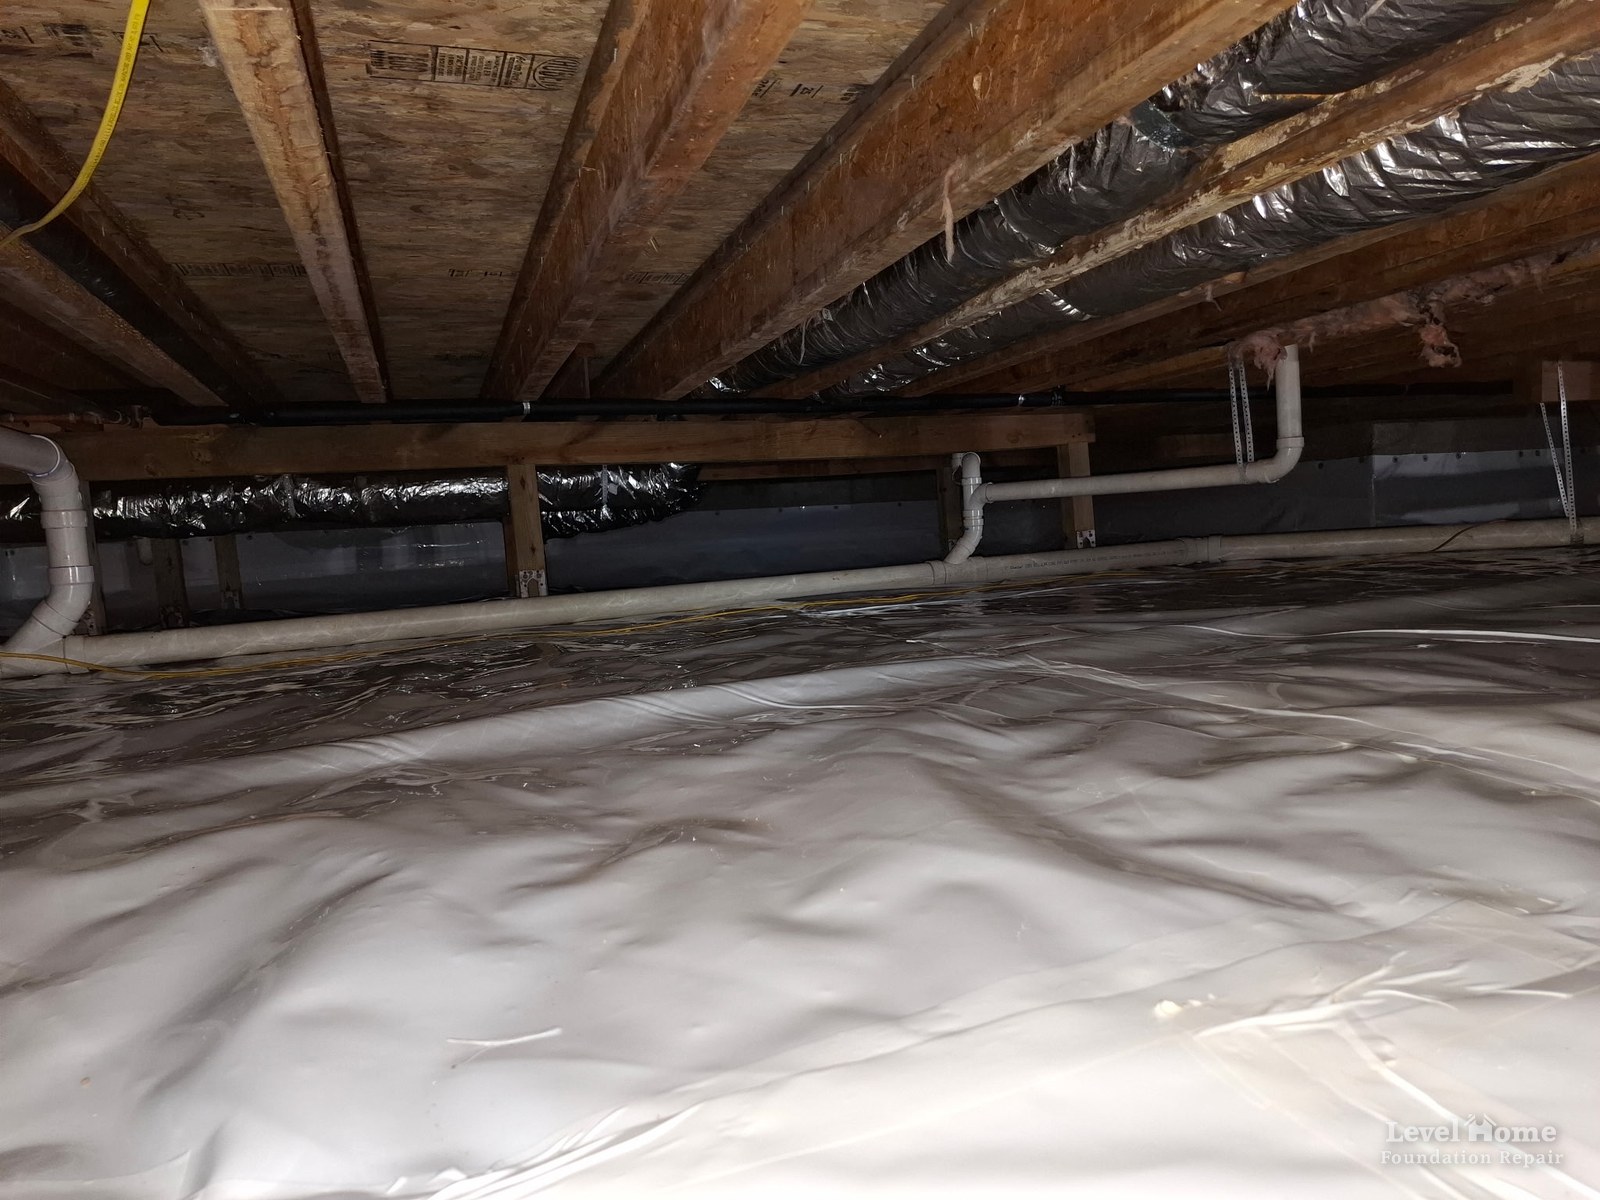
The second photo pulls back to show the liner running from wall to wall. Count the things in it that carry water or air: drain lines that run under the beam and turn up into the floor, and foil wrapped ducts between and below the joists. Any of them can leak. A slow drip at a drain fitting, or a duct with torn insulation that sweats on a humid summer day, lands right on the liner. On bare dirt, that water soaks in and nobody notices. On a white liner, you can see it.
A wood support post under the beam
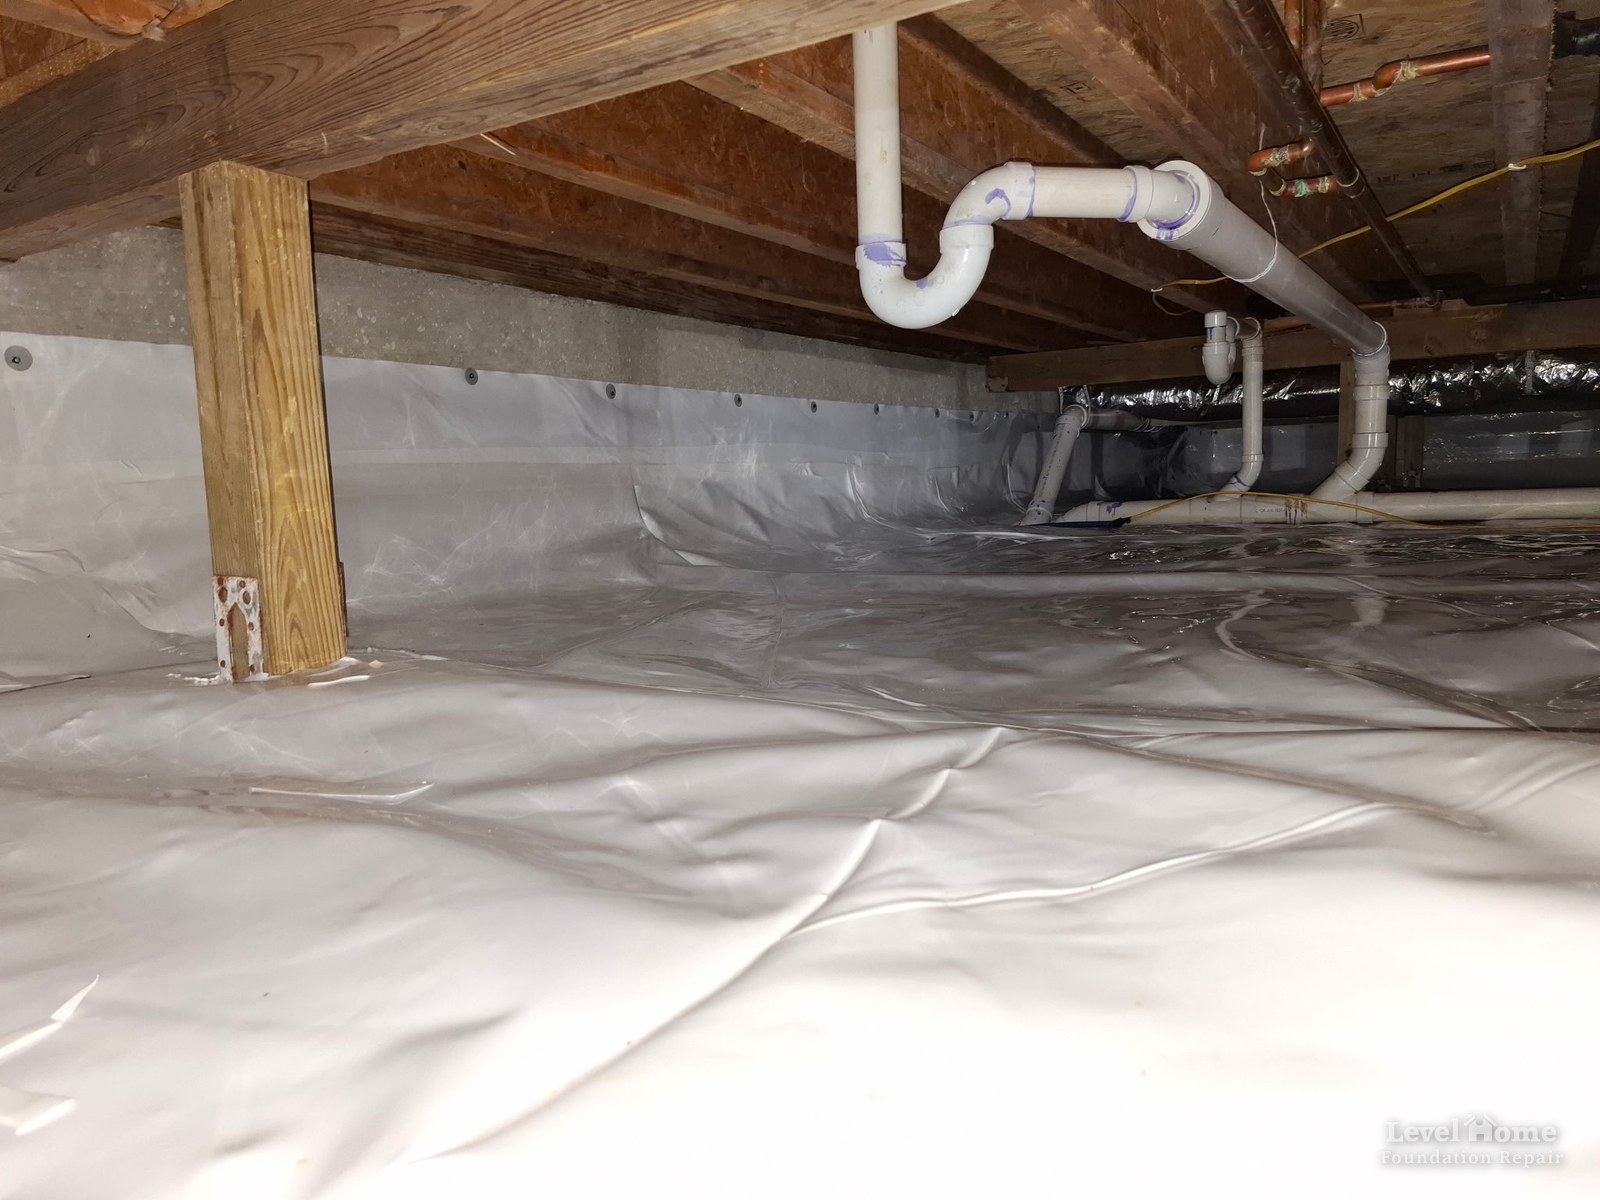
The third photo looks along a foundation wall. The post has a metal bracket at its base, and behind it the liner is fastened along its top edge below the same band of bare concrete. The purple marks on the white drain pipes and trap overhead are primer from when the pipe was glued together, not a stain or a leak.
Posts like this one carry the beam, and the beam carries the floor. When a post leans, settles, or pulls away from the beam, the floor above it shows the change as a dip or a bounce.
Why Crawl Space Maintenance Matters in Tulsa
Your first floor rests on what is in the crawl space: the posts and piers, the beams, the floor joists, and the sill plate on top of the foundation wall. Your drain lines and much of your ductwork are down there too. Very little of it is visible from inside the house, so problems can grow for a long time before anyone notices.
Local conditions do not help. Oklahoma clay soil swells when it gets wet and shrinks as it dries, which moves the ground under piers and footings. Heavy rain during spring storms pushes water toward foundations, and long, humid summers add moisture to the air under the house.
Rot, in particular, starts with water. The USDA Forest Products Laboratory Wood Handbook explains that serious decay only happens when wood is wetter than its fiber saturation point, about 30 percent moisture content on average, and that wood kept at or below 20 percent has a reasonable margin of safety against decay.
How Often to Check Your Crawl Space
Our team suggests a full check twice a year, plus a quick look whenever something changes:
- Spring: after the first round of heavy storms, when water problems tend to show.
- Fall: before cold weather, so anything you find can be handled before winter.
- After a big storm: within a day or two, while any water that got in is still visible.
- After service work: any time a plumber, HVAC technician, cable installer, or pest control technician has been under the house.
- When something changes upstairs: a new smell, a soft spot, a door that starts to stick, or a higher water bill.
Before You Go Under the House
- Tell someone you are going in, and take your phone.
- Bring a bright flashlight or headlamp, gloves, long sleeves, knee pads, and eye protection. A dust mask or respirator helps if you expect dust, loose insulation, or mold.
- Watch where you put your hands. OSU Extension notes that brown recluse spiders rest in quiet, undisturbed places during the day, and few places are quieter than a crawl space.
- Do not go in if you smell gas or sewage, or if there is standing water near wiring or electrical equipment. Leave and call the right professional.
- Do not drag tools or sharp objects across the liner, and watch your knees around fasteners and pipe hangers.
- If the space is too tight to move through safely, stop there. That is what a professional inspection is for.
Crawl Space Maintenance Checklist
Work through these in order. Starting outside tells you where water is likely coming from before you go looking for it underneath.
1. Start outside the house
- Gutters are clean, and downspouts empty well away from the foundation, not right beside it.
- Soil slopes away from the house. Section R401.3 of the International Residential Code calls for the grade to fall at least 6 inches within the first 10 feet.
- No low spots, flower bed edging, or piled mulch hold water against the wall.
- Sprinklers do not spray the foundation.
- Vents and the access door are in good shape and set the way your crawl space was designed. In a sealed crawl space, they stay closed.
- The dryer vent ends outside the house, not under it.
If water keeps finding its way to the foundation even with clean gutters and good grading, the yard may need foundation drainage, such as a French drain, to carry it away.
2. Look for water and dampness
- Standing water or puddles on top of the liner.
- Water under the liner. Press down on low spots, and if it squishes or you see water move underneath, water is getting in below.
- Water lines, stains, or white mineral deposits on the foundation walls, which show that water has been moving through or along the concrete.
- Wet spots under bathrooms, the kitchen, and the laundry room.
- Drops of water hanging from pipes or ducts.
Any wet area deserves a follow up. The EPA advises drying water damaged areas within 24 to 48 hours to prevent mold growth. If the same spot is wet on every visit, something is feeding it.
3. Check the liner or vapor barrier
- Tears, holes, or punctures, especially along the paths people crawl and around posts and pipes.
- Seams that have opened, or tape that has let go.
- Edges pulled away from the wall, or missing fasteners.
- Anything stored on the liner, or debris left behind after service work.
Small punctures can usually be patched with tape made for the liner. Large tears, long open seams, or water sitting under the liner call for a closer look. If you are weighing a basic vapor barrier against full encapsulation, or your liner is past patching, our page on crawl space encapsulation explains what a complete system includes.
4. Check crawl space humidity and the wood
An inexpensive humidity meter, called a hygrometer, tells you more than your nose can. Set it in the middle of the crawl space and give it a few minutes to settle. The EPA recommends keeping indoor humidity below 60 percent, ideally between 30 and 50 percent. In a sealed crawl space with a working dehumidifier, readings should stay below 60 percent. In a vented crawl space, readings swing with the weather, so watch the trend from visit to visit instead of reacting to one number.
Then check the wood itself:
- A moisture meter with pins gives a reading on joists, beams, posts, and the sill plate. At or below 20 percent is the Wood Handbook’s safe margin. Readings that stay above that are worth tracking down, and readings near 30 percent are in the range where decay can start.
- Push a screwdriver into any wood that looks dark or stained. Sound wood resists. The Wood Handbook describes the two main kinds of rot: one can leave wood feeling spongy, and the other cracks it across the grain into small cubes.
- Look for mold on the joists and the underside of the subfloor. The EPA says a homeowner can usually clean a moldy area smaller than about 10 square feet. If it covers more than that, or keeps coming back after cleaning, find the water feeding it first, and consider a contractor with mold cleanup experience for the bigger job.
Soft wood is not a maintenance item. Our article on rotted floor joists explains where that moisture usually comes from and how damaged framing gets rebuilt.
5. Check the supports: posts, piers, beams, and joists
- Posts and piers: standing straight, tight under the beam with no gap, and not cracked, crumbling, or sitting in water. Wood posts should be solid at the base.
- Shims and brackets: look for shims that are loose, crushed, or missing, and metal brackets with heavy rust or missing nails.
- Beams: sagging between supports, new cracks or splits, and wood that is crushed where it rests on a post or pier.
- Joists: sagging, cracks, water stains, and soft wood, especially under bathrooms and the kitchen.
- Sill plate: the wood resting on top of the foundation wall should be firm along its length, with no soft spots or gaps.
- Temporary fixes: stacked blocks, wood wedges, or screw jacks set on bare soil. These turn up often in older homes, and our post on when temporary crawl space supports fail explains why they tend to settle.
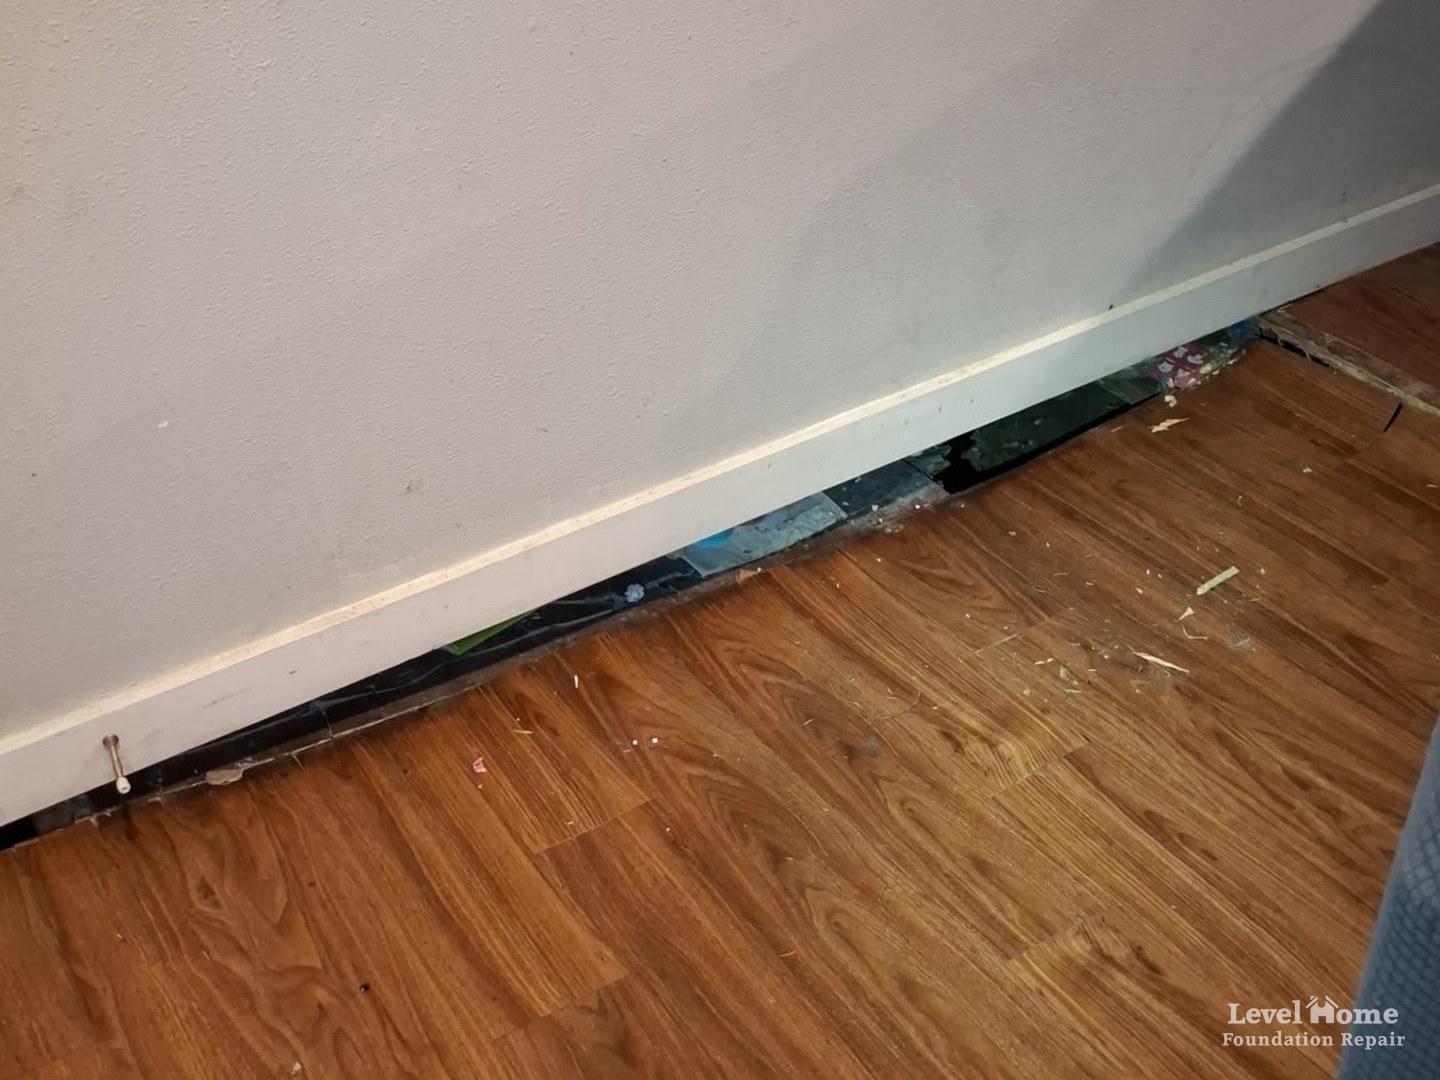
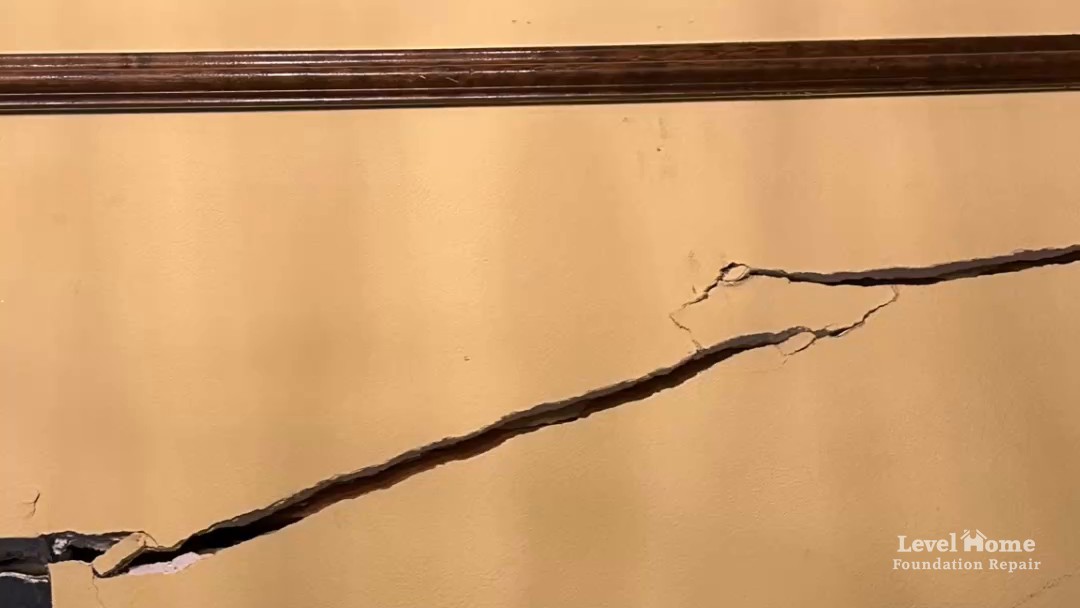
Failing supports often show up upstairs before anyone looks underneath. Sagging floors, a gap between the floor and baseboard, doors that start to stick, and new drywall cracks are all on our list of warning signs your crawl space needs structural repair. Taking a photo of each post and beam from the same spot every visit makes slow changes much easier to see.
6. Check the plumbing and ductwork
- Drips, stains, or crusty buildup at pipe fittings, traps, and valves. Green or white crust on a fitting often means a slow leak.
- Pipes or ducts with water beading on them. The EPA notes that condensation can be a sign of high humidity, and it recommends insulating pipes that sweat.
- Drain lines that sag between hangers, or hangers that have pulled loose from the joists.
- Ducts that are crushed, disconnected, lying on the ground, or missing insulation.
7. Look for pests
- Termite mud tubes on the bare strip of foundation wall, on piers, or on posts. OSU Extension also lists discarded wings and wood that sounds hollow when tapped as signs of termites.
- Droppings, nests, or chewed insulation from mice, rats, or other animals.
- Gaps around vents, the access door, and pipe openings where animals could get in.
Termites need a licensed pest control company. Once they are treated, have the wood they reached checked for damage.
8. Check the dehumidifier or sump pump, if you have one
- The dehumidifier is running, and its drain line is clear and carrying water where it should.
- If it has a filter, clean it on the manufacturer’s schedule.
- A unit that runs nonstop, or humidity that keeps rising while the unit runs, can mean the crawl space has a new water source or an opening to outside air.
- If you have a sump pump, pour water into the pit to make sure it switches on, and check that the discharge line carries water away from the house.
A dehumidifier only works as well as it was sized and as well as the space around it is sealed. Our article on DIY crawl space encapsulation explains both.
What Is Normal and What Needs a Professional
Not everything you find under a house is a problem. Here is how our team sorts the usual findings:
- Usually fine to handle yourself: a small puncture in the liner, a loose fastener, a little debris, a clogged gutter, a downspout that needs an extension, or a small patch of surface mold under 10 square feet once you have fixed what caused it.
- Worth a call if it comes back: water on top of the liner after storms, humidity that stays above 60 percent for weeks, condensation on ducts or pipes, or a dehumidifier that never shuts off.
- Time for a professional inspection: water under the liner, soft or crumbling wood, mold that keeps returning, a post that leans or has a gap above it, a cracked pier, a beam that sags, termite damage once pest control has treated the termites, or a floor upstairs that has started to dip, bounce, or slope.
When you are not sure which group something belongs in, take a photo and ask. If it is minor, our team will tell you so.
When Maintenance Turns Into Crawl Space Repair
Maintenance keeps a sound crawl space sound. It cannot bring back a support that has already failed or wood that has already rotted. When a check turns up a real problem, a lasting repair handles it in this order:
- Stop the water. Gutters, grading, drainage, and plumbing leaks come first. Repairs made while water is still getting in tend to fail again.
- Fix the structure. Failing posts and piers are replaced with steel piers set on proper footings, damaged beams are replaced or reinforced, weak joists are sistered or replaced, and rotted sill plates are rebuilt.
- Control the moisture. A liner or full encapsulation, often with a dehumidifier, keeps the repaired framing dry.
Sealing a crawl space over standing water or failing supports only hides the problem under plastic. That is why our team checks the structure and the water sources before anything gets sealed, and why a maintenance routine afterward matters. Our processes are approved by engineering firms across Texas and Oklahoma, and we have never failed an engineer reinspection.
If your home sits on a pier and beam foundation, its piers and beams are in the crawl space, so this whole checklist applies to you. Our guide to pier and beam foundation problems covers how those systems wear out, and our pier and beam repair page explains how our team fixes them. Older homes often have a mix of original supports and later patches, which is why crawl space leveling in older Tulsa homes takes careful planning.
Key Takeaways
- Check your crawl space twice a year, after big storms, and after anyone works under the house.
- Start outside. Gutters, downspouts, and grading decide how much water reaches the foundation.
- On a lined crawl space, check the seams, the edges along the wall, and the bare strip of concrete above the liner.
- Keep humidity below 60 percent and wood moisture at or below 20 percent.
- Posts, piers, beams, and joists should be straight, tight, and solid. Soft wood and leaning posts are repair items, not maintenance.
- When maintenance finds a real problem, fix the water first, then the structure, then seal.
Frequently Asked Questions
How often should I check my crawl space?
Our team suggests a full check twice a year, in spring and fall, plus a quick look after heavy storms, after anyone works under the house, and whenever you notice a new smell, a soft spot, or a change in your floors. If you have a crawl space dehumidifier, glance at it once a month.
What humidity should a crawl space be?
The EPA’s guideline for indoor humidity is below 60 percent, ideally 30 to 50 percent, and below 60 percent is a sensible target under the house too. A sealed crawl space with a working dehumidifier should stay there. In a vented crawl space, humidity follows the weather, so the trend over several visits matters more than one reading.
Can you crawl on a crawl space vapor barrier?
Yes, as long as you are careful. Wear knee pads, carry tools in a bag instead of dragging them, and watch for fasteners and pipe hangers. Check the main paths for wear on every visit.
Does an encapsulated crawl space need maintenance?
Yes. Encapsulation helps control ground moisture and outside air, but seams can open, edges can pull loose, pipes can leak, and dehumidifiers need attention. The structure still needs checking too, because a liner does not stop a post from settling or termites from moving in.
What should I check after a plumber or HVAC technician works under my house?
Look along the path they took for tears in the liner, loose or missing fasteners, and debris left behind. Then check the work area for drips, loose pipe hangers, and ducts that were disconnected or left lying on the ground.
How do I know if my crawl space needs repair and not just maintenance?
Soft or crumbling wood, a post that leans or has a gap above it, a cracked pier, a sagging beam, water under the liner, or a floor upstairs that dips or bounces all point past maintenance. Those call for a professional inspection to find the cause and the right crawl space repair.
Found Something Under Your House? Let Our Team Take a Look
If your checklist turned up water, soft wood, a leaning post, or a liner that keeps tearing, schedule a free inspection. Our team has worked on crawl spaces and foundations in Tulsa for over 10 years. We will show you what we find and explain what needs attention now and what can wait. Financing options are available. Call (918) 361-7787 or contact us online.